Welcome, new Cubeheroist! To help you get started, I wrote a quick little walkthrough to help you out. To follow along, you need both git and openscad installed.
First signup for cubehero. It’s standard fare–choose a username/password, etc. Then once you’re in, you’ll see a green button to create a new physible. Click it.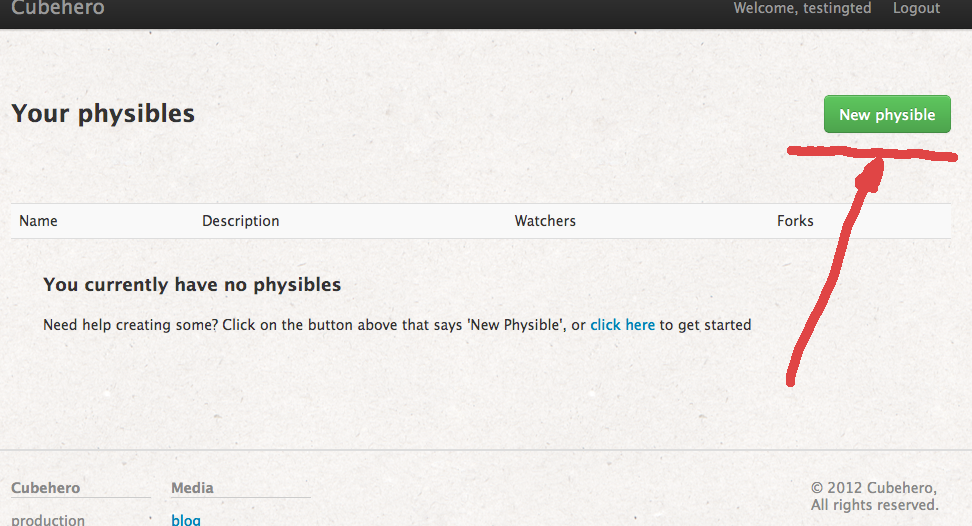
Now, you can create a name for your physible and a description. For me, I’m making a dumbbell.

Then I bring up the terminal and start typing in commands at the prompt (type only the commands in bold). Make sure you replace `[enter your username]` with your own username below:
> git clone https://cubehero.com/[enter your username]/grambell.gitCloning into grambell...warning: You appear to have cloned an empty repository.
> cd grambell> echo "cube(20);" > start.scad> openscad -o start.stl start.scad
Here, we used openSCAD to compile an STL file. We’re ready for our first commit! Let’s see what we changed:
> git status# On branch master## Initial commit## Untracked files:# (use "git add ..." to include in what will be committed)## start.scad# start.stlnothing added to commit but untracked files present (use "git add" to track)
Looks good! First we add the untracked files to staging:
> git add .> git status# On branch master## Initial commit## Changes to be committed:# (use "git rm --cached ..." to unstage)## new file: start.scad# new file: start.stl#
And then we commit it to the repository
> git commit -m "initial commit"[master (root-commit) 091a7ec] initial commit 2 files changed, 87 insertions(+), 0 deletions(-) create mode 100644 start.scad create mode 100644 start.stl
But if we want to see a diff, we should have two commits. Let’s create another commit with that adds a second cube.
> echo "translate([30, 0, 0]) cube(20);" >> start.scad > openscad -o start.stl start.scad > git status# On branch master# Changes not staged for commit:# (use "git add ..." to update what will be committed)# (use "git checkout -- ..." to discard changes in working directory)## modified: start.scad# modified: start.stl#no changes added to commit (use "git add" and/or "git commit -a")> git add .> git commit -m "added a second weight"[master 64fc794] added a second weight 2 files changed, 30 insertions(+), 29 deletions(-)
Now we push to the remote repository at cubehero! Enter your username and password when prompted.
> git push -u origin masterUsername: Password: Counting objects: 7, done.Delta compression using up to 4 threads.Compressing objects: 100% (3/3), done.Writing objects: 100% (4/4), 591 bytes, done.Total 4 (delta 0), reused 0 (delta 0)<clipped messages from server...>To https://cubehero.com/testingted/grambell.git 64fc794..fe54fe7 master -> master
So now if you go back to cubehero and revisit your physible’s page, you can click on the source tab,
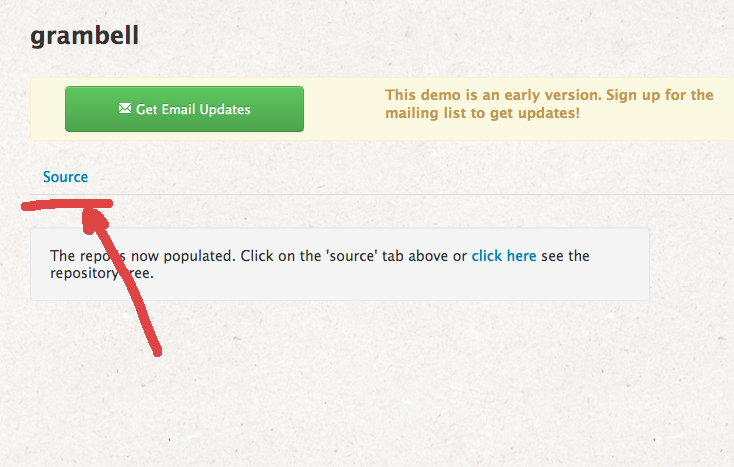
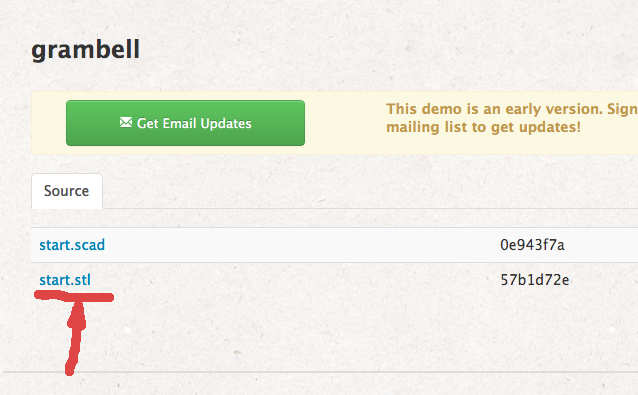
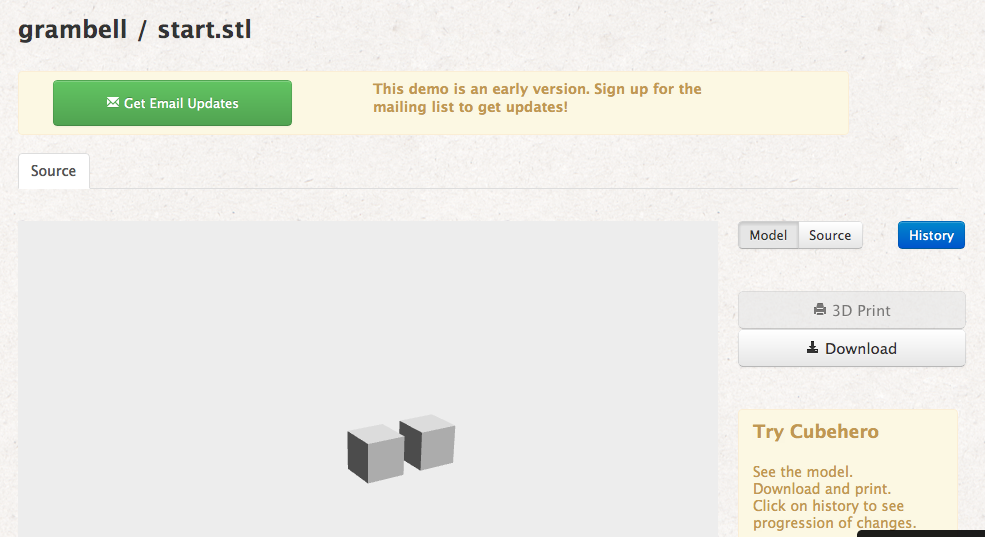
navigate to start.stl, and you should be able to see the model.
When you click on the history button, you’ll see the diffs.
I’ll leave it as an exercise for you to figure out how to connect the two blocks with a handle between them. Let me know if you have any questions!

Leave a comment